Dark Chocolate Raspberry Cheesecake Recipe
Introduction
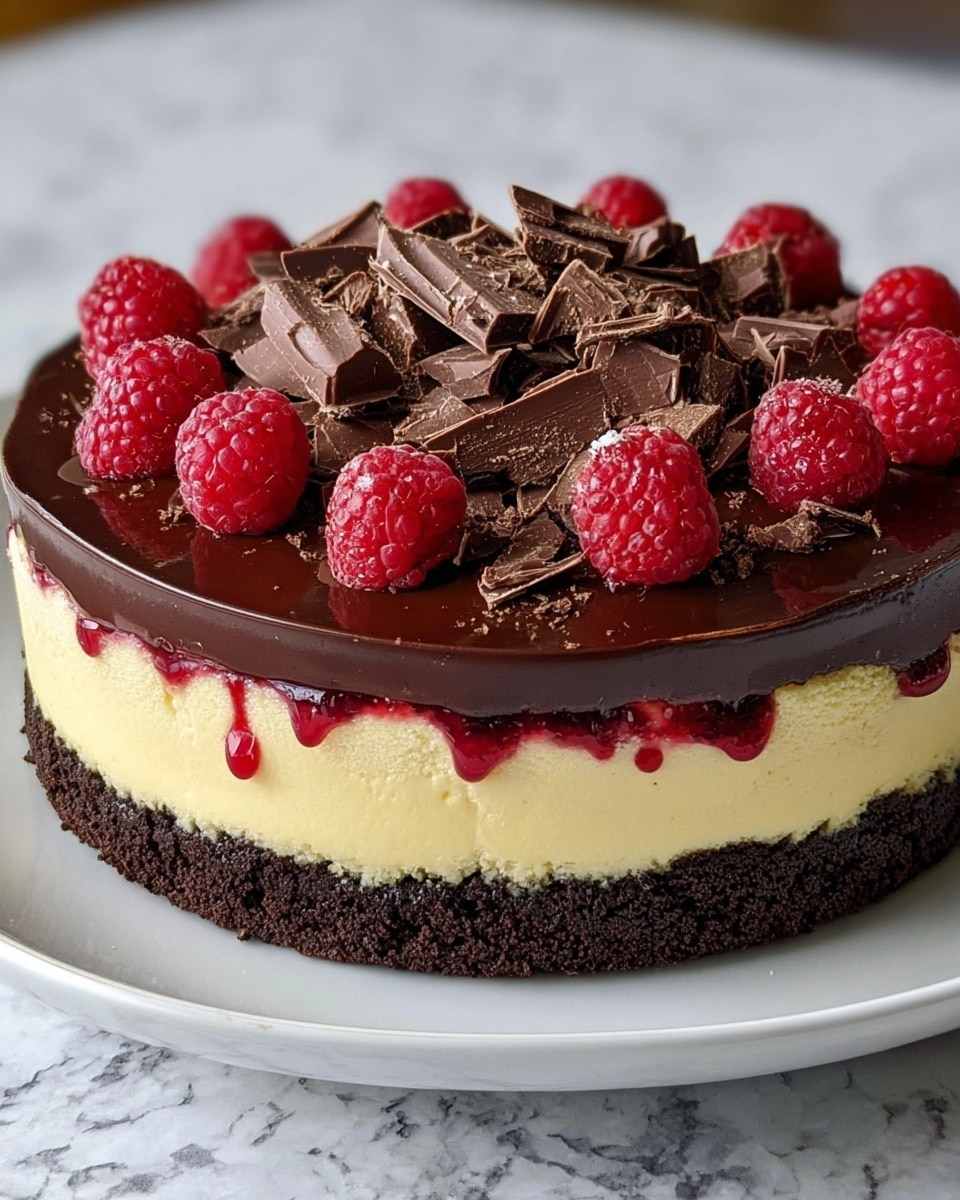
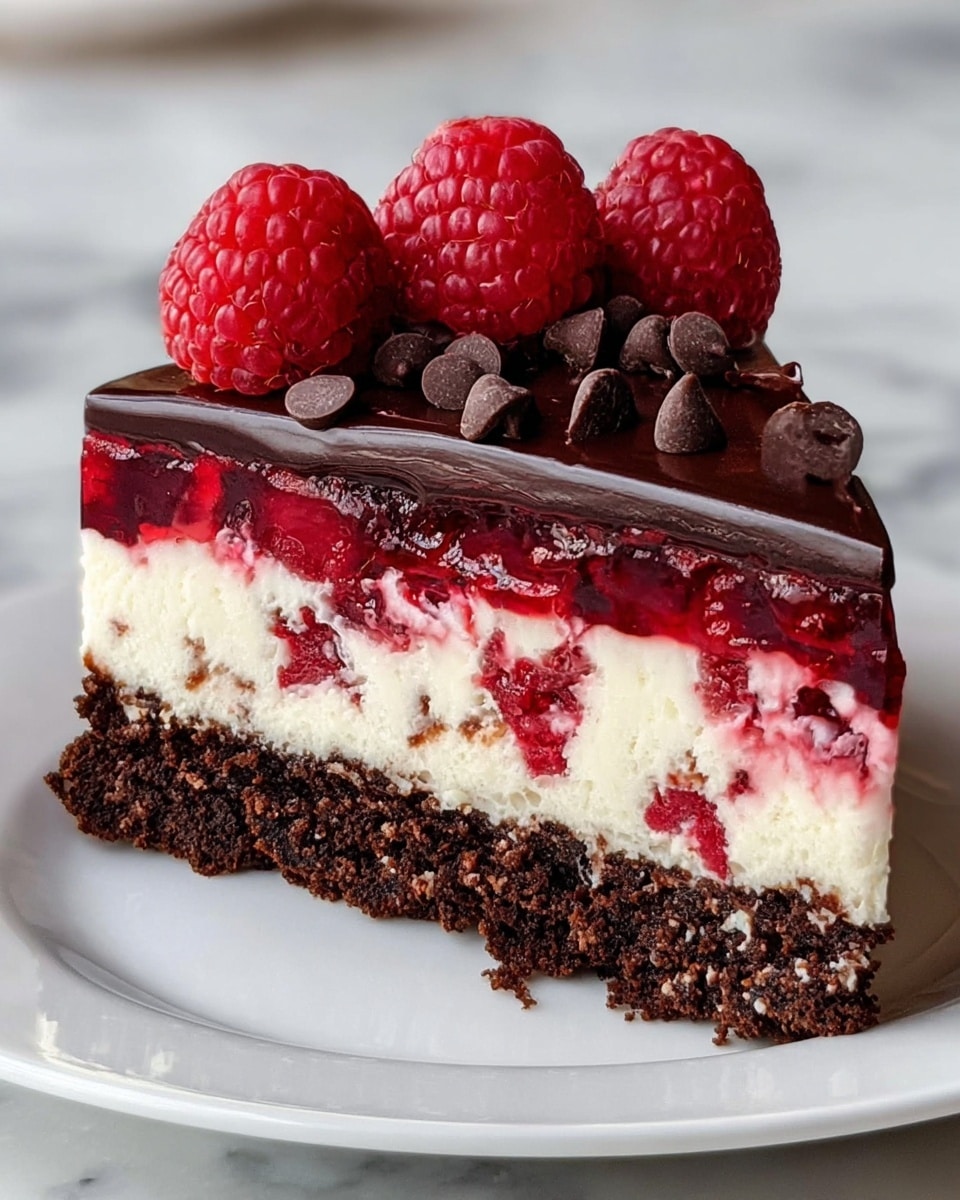
This Dark Chocolate Raspberry Cheesecake is a rich and decadent dessert perfect for special occasions or whenever you want to treat yourself. Creamy cheesecake swirled with luscious dark chocolate and studded with fresh raspberries creates a delightful balance of flavors.
Ingredients
- 2 cups crushed chocolate cookies
- ¼ cup melted butter
- 24 ounces cream cheese, softened
- ½ cup sugar
- ¼ cup melted dark chocolate
- 1 teaspoon vanilla extract
- 3 eggs
- ½ cup fresh raspberries
Instructions
- Step 1: Preheat your oven to 325°F (160°C).
- Step 2: Combine the crushed chocolate cookies with the melted butter. Press this mixture evenly into the bottom of a springform pan to form the crust.
- Step 3: In a large bowl, beat the softened cream cheese, sugar, melted dark chocolate, and vanilla extract together until smooth and creamy.
- Step 4: Add the eggs one at a time, mixing well after each addition to incorporate fully.
- Step 5: Gently fold in the fresh raspberries, being careful not to crush them.
- Step 6: Pour the cheesecake mixture over the prepared crust in the springform pan.
- Step 7: Bake for 60 minutes or until the center is set but still slightly jiggly.
- Step 8: Allow the cheesecake to cool completely before removing from the pan and serving.
Tips & Variations
- For a smoother crust, pulse the chocolate cookies in a food processor before mixing with butter.
- Try substituting fresh raspberries with frozen; just thaw and drain first.
- To enhance the chocolate flavor, sprinkle additional melted chocolate over the top before serving.
- If you like a bit of crunch, add chopped nuts to the crust mixture.
Storage
Store leftover cheesecake in an airtight container in the refrigerator for up to 5 days. For longer storage, you can freeze it for up to 1 month; thaw overnight in the fridge before serving. Reheat by letting it come to room temperature or warming slightly in a low-temperature oven.
How to Serve
Serve this delicious recipe with your favorite sides.
FAQs
Can I use regular chocolate instead of dark chocolate?
Yes, you can substitute regular chocolate if you prefer a sweeter flavor, but dark chocolate adds a nice rich bitterness that balances the raspberries well.
Do I need a water bath to bake this cheesecake?
This recipe does not require a water bath, but you can use one to prevent cracks and ensure a creamy texture if desired.
PrintDark Chocolate Raspberry Cheesecake Recipe

This Dark Chocolate Raspberry Cheesecake combines a rich chocolate cookie crust with a creamy dark chocolate-infused cheesecake filling studded with fresh raspberries. Baked to perfection, it offers an indulgent dessert experience with a balance of tangy fruit and deep chocolate flavors.
- Prep Time: 20 minutes
- Cook Time: 60 minutes
- Total Time: 4 hours 20 minutes (including chilling time)
- Yield: 8 servings 1x
- Category: Dessert
- Method: Baking
- Cuisine: American
- Diet: Vegetarian
Ingredients
Crust
- 2 cups crushed chocolate cookies
- ¼ cup melted butter
Filling
- 24 ounces cream cheese, softened
- ½ cup sugar
- ¼ cup melted dark chocolate
- 1 teaspoon vanilla extract
- 3 eggs
- ½ cup fresh raspberries
Instructions
- Preheat Oven: Preheat your oven to 325°F (160°C) to prepare for baking the cheesecake.
- Prepare Crust: In a bowl, combine the crushed chocolate cookies and melted butter thoroughly. Press this mixture evenly into the bottom of a springform pan to form the crust base.
- Make Filling: In a mixing bowl, beat the softened cream cheese, sugar, melted dark chocolate, and vanilla extract until smooth and creamy, ensuring no lumps remain.
- Add Eggs: Incorporate the eggs one at a time into the cream cheese mixture, mixing well after each addition to maintain a smooth texture.
- Fold in Raspberries: Gently fold fresh raspberries into the cheesecake batter, taking care not to break the berries.
- Assemble & Bake: Pour the cheesecake filling over the prepared crust in the springform pan. Bake in the preheated oven for 60 minutes, or until the center is set and slightly jiggly but not liquid.
- Cool: Remove the cheesecake from the oven and allow it to cool completely in the pan before removing the sides. Chill in the refrigerator for at least 4 hours or overnight for best results.
Notes
- Use room temperature cream cheese for a smoother batter.
- Melt dark chocolate gently using a double boiler or microwave to avoid burning.
- Fresh raspberries add a tart contrast; avoid stirring vigorously to keep them intact.
- Let the cheesecake cool fully to prevent cracking before chilling.
- For easy removal, run a knife around the edges before unlocking the springform pan.
Keywords: dark chocolate cheesecake, raspberry cheesecake, chocolate dessert, baked cheesecake, chocolate raspberry dessert