S’mores Cookie Bars Recipe
Introduction
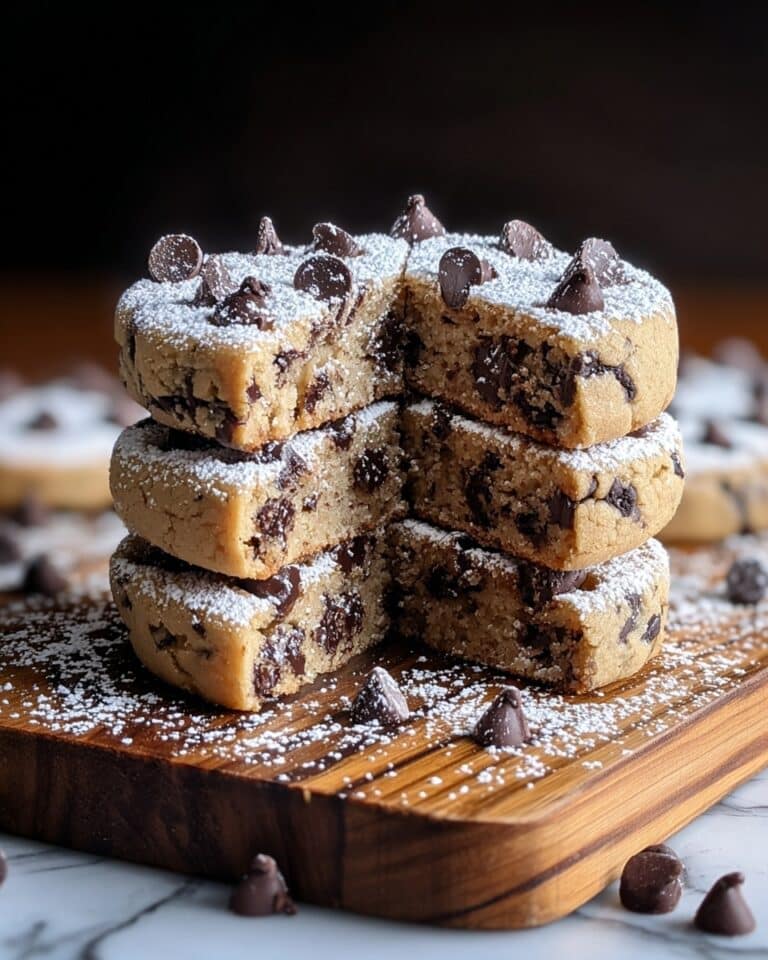
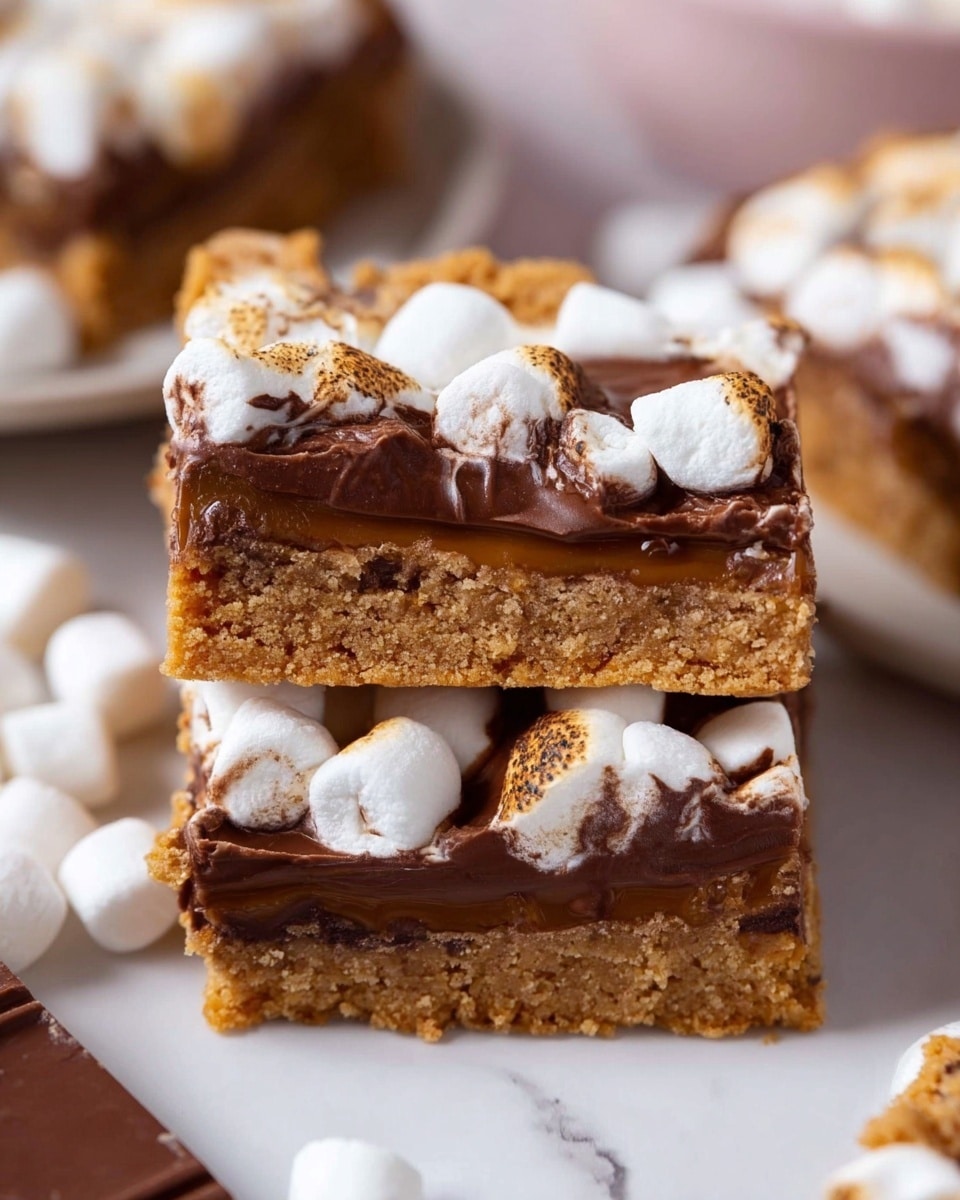
These S’mores Cookie Bars capture the classic campfire treat in a deliciously easy bar form. Combining a graham cracker base with rich cookie dough, gooey marshmallows, and melted chocolate, they are perfect for sharing or enjoying anytime you crave a sweet, nostalgic dessert.
Ingredients
- 7-8 graham crackers (full sheets/unbroken rectangles)
- 1 cup unsalted butter (2 sticks), room temperature
- ¾ cup granulated sugar
- ¾ cup light brown sugar, gently packed
- 2 large eggs
- 2 tsp vanilla extract
- 3 cups all-purpose flour (stir, spoon, & level)
- ¾ tsp salt
- ¾ tsp baking soda
- ½ cup semi-sweet chocolate chips
- 1 cup mini marshmallows
- 2 regular sized Hershey’s Milk Chocolate Bars (two 1.55oz/43g bars), broken into squares
Instructions
- Step 1: Preheat your oven to 375 degrees Fahrenheit. Line a 13×9-inch pan with parchment paper, leaving a 2-inch overhang on the sides for easy removal.
- Step 2: Arrange the graham crackers in a single layer to cover the entire bottom of the pan, breaking pieces as needed to fit snugly.
- Step 3: In the bowl of an electric mixer fitted with the paddle attachment, cream together the butter, granulated sugar, and brown sugar until light and fluffy. Add eggs and vanilla extract, mixing well and scraping down the sides as needed.
- Step 4: In a separate large bowl, whisk together the flour, salt, and baking soda. Gradually add this dry mixture, along with the chocolate chips and mini marshmallows, into the butter mixture. Mix just until combined.
- Step 5: Spread the cookie dough evenly over the graham cracker layer, pressing it flat. If you like, sprinkle extra mini marshmallows on top for added gooeyness.
- Step 6: Bake for 25 to 30 minutes, or until the bars are golden brown and a toothpick inserted near the center comes out clean. If the edges brown faster than the center, tent the bars loosely with foil.
- Step 7: Remove from the oven and immediately place the broken Hershey’s chocolate squares on top. Let the bars cool in the pan for 20 to 30 minutes to allow the chocolate to soften and the bars to set before lifting them out using the parchment overhang. Cut into bars and serve.
Tips & Variations
- Use crunchy or classic marshmallows according to your texture preference. For extra gooey bars, add a bit more marshmallows on top before baking.
- Substitute Hershey’s bars with your favorite chocolate, such as dark or caramel-filled for a twist.
- To get cleaner slices, chill the bars briefly before cutting.
Storage
Store the bars in an airtight container at room temperature for up to 3 days. Because of the melty chocolate, they may stay soft, but refrigerating can firm them up if preferred; bring back to room temperature before serving. For longer storage, freeze wrapped bars for up to 2 months and thaw overnight in the fridge.
How to Serve
Serve this delicious recipe with your favorite sides.
FAQs
Can I use a different type of chocolate for these bars?
Absolutely! Feel free to substitute Hershey’s milk chocolate with dark chocolate, white chocolate, or even chocolate chunks for a different flavor profile.
What if I don’t have mini marshmallows?
You can chop regular-sized marshmallows into smaller pieces as a substitute, or use marshmallow fluff folded into the dough, though this will change the texture slightly.
PrintS’mores Cookie Bars Recipe
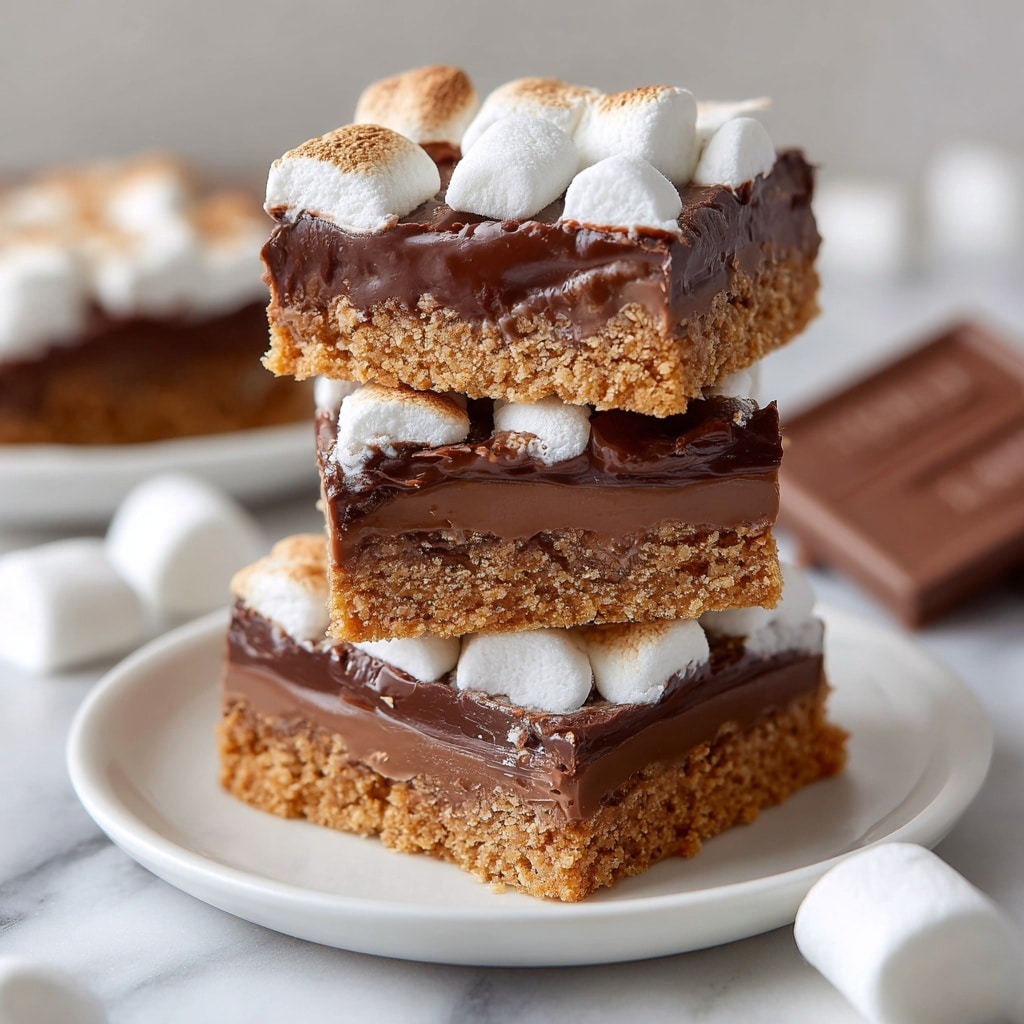
Delight in these irresistible S’mores Cookie Bars that combine the nostalgic flavors of graham crackers, melted chocolate, and gooey marshmallows in a soft, buttery cookie base. Perfect for dessert or a fun snack, these bars deliver the classic s’mores experience in an easy-to-bake pan of chewy goodness.
- Prep Time: 15 minutes
- Cook Time: 30 minutes
- Total Time: 45 minutes
- Yield: 16 bars 1x
- Category: Dessert
- Method: Baking
- Cuisine: American
Ingredients
Base Layer
- 7–8 graham crackers (full sheets, unbroken rectangles)
Cookie Dough
- 1 cup unsalted butter (2 sticks, room temperature)
- ¾ cup granulated sugar
- ¾ cup light brown sugar (gently packed)
- 2 large eggs
- 2 tsp vanilla extract
- 3 cups all-purpose flour (stirred, spooned & leveled)
- ¾ tsp salt
- ¾ tsp baking soda
- ½ cup semi-sweet chocolate chips
- 1 cup mini marshmallows
Topping
- 2 regular sized Hershey’s Milk Chocolate Bars (two 1.55 oz / 43 g bars, broken into squares)
- Additional mini marshmallows (optional, for topping)
Instructions
- Preheat and Prepare Pan: Preheat your oven to 375°F (190°C). Line a 13×9-inch baking pan with parchment paper, leaving a 2-inch overhang on the sides to easily lift the bars out later.
- Layer Graham Crackers: Arrange the graham crackers in a single layer covering the entire bottom of the pan. Break the crackers into smaller pieces as needed to create a flat, even base.
- Cream Butter and Sugars: In the bowl of an electric mixer fitted with the paddle attachment, beat the room temperature butter with granulated sugar and light brown sugar until the mixture is light and fluffy. Then add eggs and vanilla extract, mixing well and scraping down the sides of the bowl as necessary.
- Combine Dry Ingredients: In a separate large bowl, whisk together the all-purpose flour, salt, and baking soda until evenly combined.
- Mix Dough Ingredients: Gradually add the dry mixture, semi-sweet chocolate chips, and mini marshmallows to the butter-sugar mixture. Fold everything together gently until just combined to avoid overmixing.
- Assemble Bars: Spread the cookie dough evenly on top of the graham cracker layer in the pan, pressing gently to flatten the surface. Optionally, sprinkle extra mini marshmallows on top for added gooeyness.
- Bake: Bake in the preheated oven for 25 to 30 minutes, or until the cookie dough turns golden brown and a toothpick inserted in the center comes out clean. If the edges brown faster than the middle, cover loosely with foil to prevent burning.
- Add Chocolate Topping and Cool: Right after removing the pan from the oven, immediately place the broken Hershey’s chocolate bar pieces evenly on top of the warm cookie bars so they melt slightly. Let the bars cool in the pan for 20 to 30 minutes before using the parchment overhang to lift them out and cut into squares for serving. Note that the chocolate topping may remain soft and melty at room temperature.
Notes
- Use full sheets of graham crackers to create a sturdy base layer.
- If desired, add more mini marshmallows on top before baking for extra gooey texture.
- If the top browns too quickly, tent the bars with foil to allow the inside to finish baking.
- Allow the bars to cool completely before slicing to ensure cleaner cuts and easier handling.
- The melted chocolate topping will stay soft rather than harden once cooled.
Keywords: s’mores, cookie bars, graham crackers, chocolate, marshmallows, dessert, treat, easy baking