Salted Caramel Apple Crisp Bars: A Delicious Fall Treat Recipe
Introduction
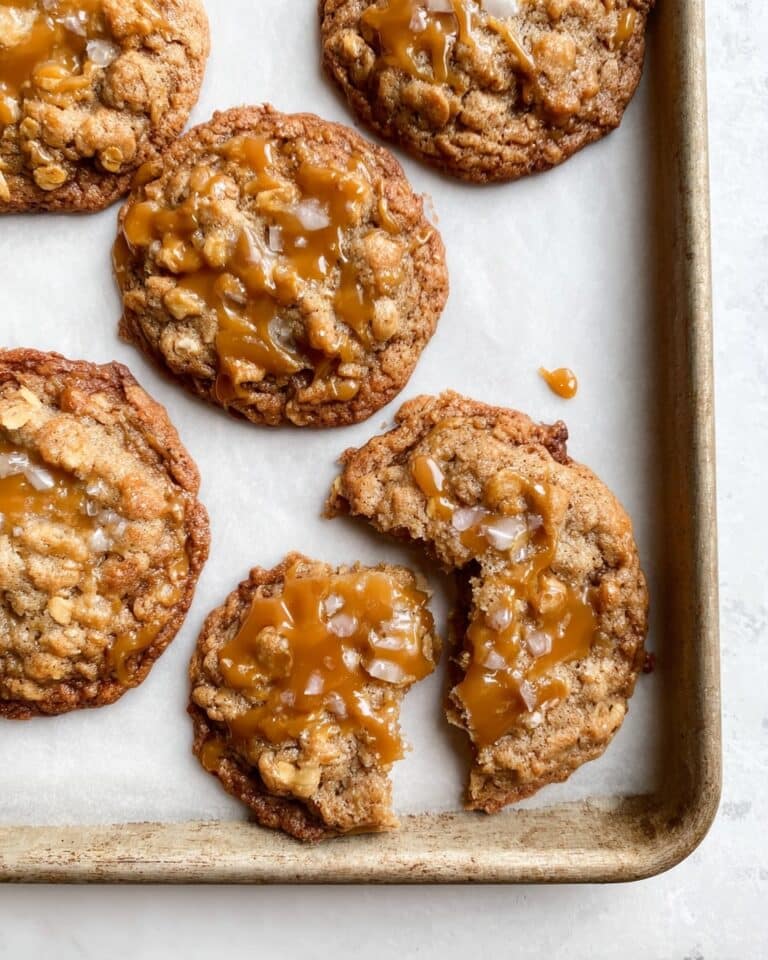
Salted Caramel Apple Crisp Bars combine tender apples with a buttery oat crust and a rich caramel drizzle, making them the perfect fall treat. This easy-to-make dessert offers a delightful balance of sweet and salty flavors with a satisfying crunch in every bite.

Ingredients
- 2 cups all-purpose flour
- 1 cup rolled oats
- 1 cup brown sugar
- 1 tsp cinnamon
- 1/2 tsp salt
- 1 cup unsalted butter, melted
- 4 cups apples, peeled and diced
- 1/2 cup salted caramel sauce
Instructions
- Step 1: In a mixing bowl, combine the flour, rolled oats, brown sugar, cinnamon, and salt. Pour in the melted butter and stir until the mixture is crumbly.
- Step 2: Press half of the crumbly mixture into the bottom of a 9×13 inch baking pan to form the crust.
- Step 3: Spread the diced apples evenly over the crust, then drizzle the salted caramel sauce on top of the apples.
- Step 4: Sprinkle the remaining crumbly topping evenly over the caramel layer.
- Step 5: Bake in a preheated oven at 350°F (175°C) for 40-45 minutes, until the topping is golden brown and the apples are tender.
- Step 6: Allow the bars to cool completely before slicing and serving.
Tips & Variations
- For even cooking, dice the apples into uniform pieces, adjusting size based on your preference for chunkier or softer texture.
- If the topping browns too quickly, cover the pan loosely with foil halfway through baking to prevent burning.
- Use a mix of sweet and tart apples for a more complex flavor.
- To make it extra decadent, add chopped nuts like pecans or walnuts to the crumb topping.
Storage
Store the bars in an airtight container at room temperature for up to 3 days. For longer storage, keep them in the refrigerator for up to a week. Reheat bars gently in the microwave or oven before serving to restore their soft, gooey texture.
How to Serve
Serve this delicious recipe with your favorite sides.
FAQs
Can I use store-bought salted caramel sauce?
Yes, store-bought salted caramel sauce works well and saves time. Just choose a high-quality sauce for the best flavor.
How can I make these bars gluten-free?
Substitute the all-purpose flour with a gluten-free flour blend and ensure your oats are certified gluten-free. This will keep the texture close to the original while accommodating gluten sensitivities.
PrintSalted Caramel Apple Crisp Bars: A Delicious Fall Treat Recipe

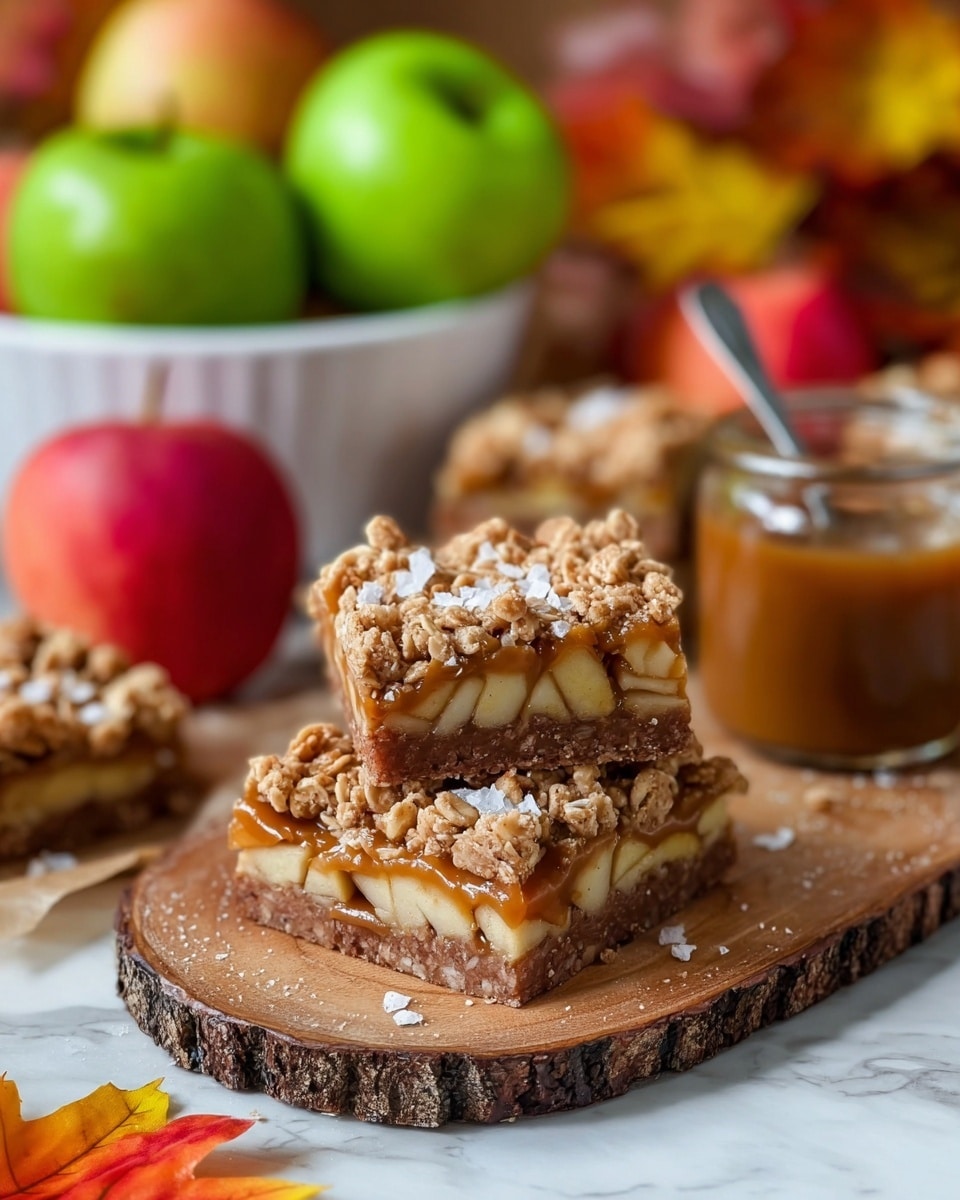
Salted Caramel Apple Crisp Bars are a delightful fall treat combining a crumbly oat and brown sugar crust with tender diced apples and a rich salted caramel drizzle. Baked to golden perfection, these bars offer a perfect balance of crisp and gooey textures, capturing the essence of autumn flavors in every bite.
- Prep Time: 15 minutes
- Cook Time: 45 minutes
- Total Time: 1 hour
- Yield: 12 bars 1x
- Category: Dessert
- Method: Baking
- Cuisine: American
Ingredients
Crust and Topping
- 2 cups all-purpose flour
- 1 cup rolled oats
- 1 cup brown sugar
- 1 tsp cinnamon
- 1/2 tsp salt
- 1 cup unsalted butter, melted
Filling
- 4 cups apples, peeled and diced
- 1/2 cup salted caramel sauce
Instructions
- Prepare the Crust and Topping: In a mixing bowl, combine the all-purpose flour, rolled oats, brown sugar, cinnamon, and salt. Pour in the melted unsalted butter and mix until the mixture becomes crumbly and well combined, forming the base and topping for the bars.
- Layer the Ingredients: Press half of the crumbly crust mixture firmly into the bottom of a 9×13 inch baking pan to form an even base layer. Evenly layer the peeled and diced apples over the crust. Drizzle the salted caramel sauce over the apples to infuse a rich, sweet flavor. Finally, sprinkle the remaining crumbly mixture evenly over the apple layer to create the topping.
- Bake and Serve: Preheat the oven to 350°F (175°C) before placing the assembled dish inside. Bake for 40-45 minutes, or until the topping turns golden brown and the apples are tender. Remove from the oven and allow the bars to cool completely in the pan to set properly before slicing into bars. Serve and enjoy this delicious blend of crisp and gooey fall flavors.
Notes
- If the topping browns too quickly during baking, cover the pan loosely with foil halfway through to prevent burning.
- Allow bars to cool completely before slicing to ensure they hold together well and do not become too soft.
- For uniform apple cooking, dice apples into evenly sized pieces; you may adjust the size depending on your texture preference.
- Use salted caramel sauce to balance sweetness and add depth; homemade or store-bought caramel both work well.
- This recipe pairs wonderfully with vanilla ice cream or whipped cream for an extra indulgence.
Keywords: Salted caramel, apple crisp bars, fall dessert, baked dessert, oat topping, caramel apple bars