Mini Silver Dollar Pancakes Recipe
Introduction
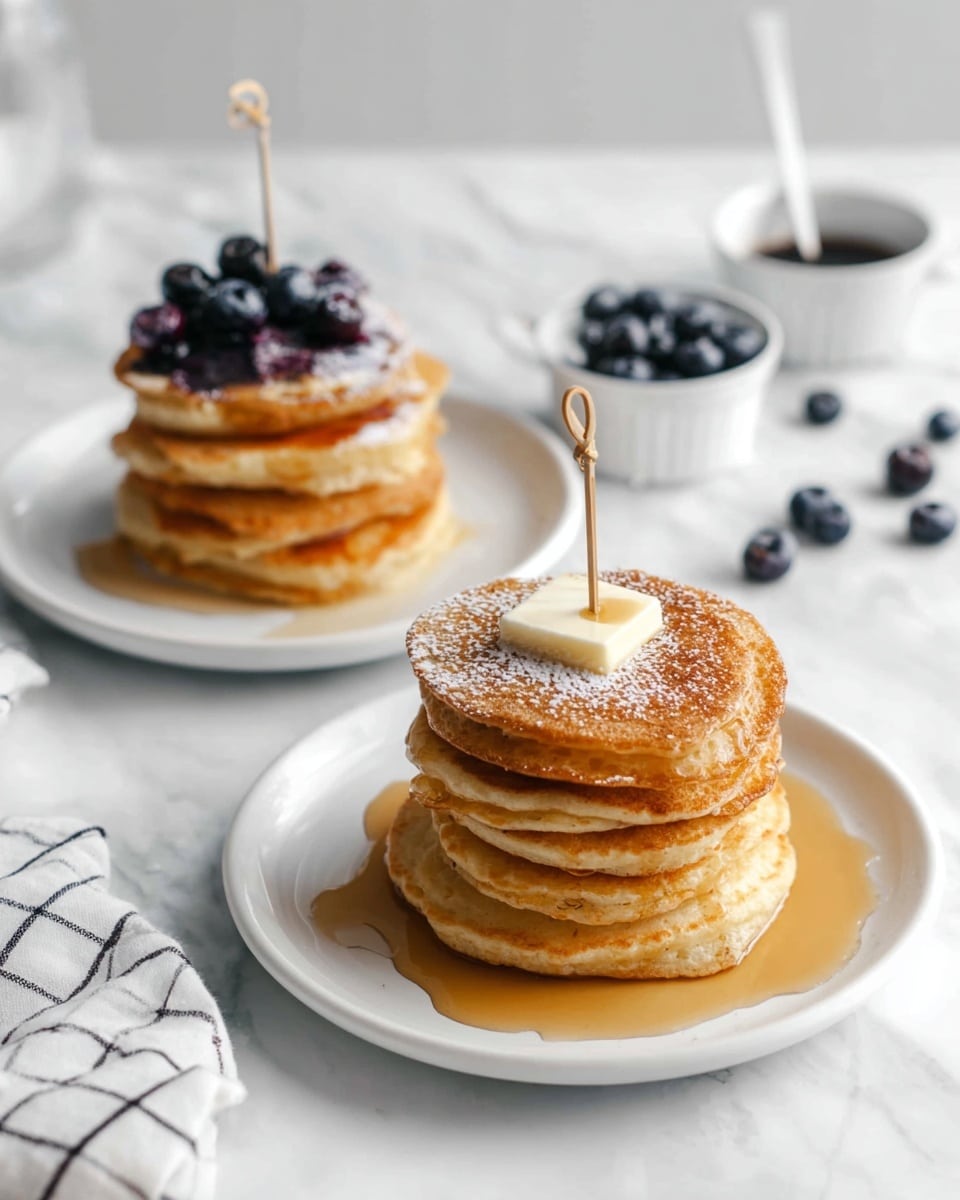
Mini Silver Dollar Pancakes are perfect for breakfast or brunch when you want bite-sized, fluffy pancakes that cook quickly. Their small size makes them fun to eat and easy to customize with your favorite toppings.
Ingredients
- 1 cup flour
- ¼ cup sugar
- 1½ tsp baking powder
- ¼ tsp salt
- ¾ cup milk (or substitute nut milk)
- 1 tsp vanilla extract
- 6 tbsp unsalted butter
Instructions
- Step 1: In a large bowl, combine the flour, sugar, baking powder, and salt.
- Step 2: Add the milk, 2 tablespoons of melted butter, and vanilla extract to the dry ingredients. Whisk gently until just combined; lumps are okay. Avoid over-mixing to keep the pancakes tender. If the batter is too thin, your pancakes will be flat and difficult to flip. If too thick, add milk one tablespoon at a time until the batter reaches a thick but pourable consistency.
- Step 3: Heat a skillet over medium-low heat and add 1 to 2 tablespoons of butter. Once melted, pour about 1 tablespoon of batter for each pancake onto the skillet, leaving about an inch of space between them. Using a mini ice cream scoop helps create evenly sized, round pancakes.
- Step 4: To get crispy edges, gently move the butter around the edges of each pancake using the pan handle, ensuring the perimeter is well coated. Add more butter if your pan is larger.
- Step 5: When small bubbles form on the surface or edges begin browning, use a flat metal spatula to flip each pancake. Start with lower heat and adjust as necessary to avoid burning.
- Step 6: After flipping, add another tablespoon of butter to the pan to prevent it from drying out. The pancakes should slide easily around the pan; if not, add more butter.
- Step 7: Cook the pancakes for another minute or two until fully cooked through but not overdone, to keep them moist and tender inside.
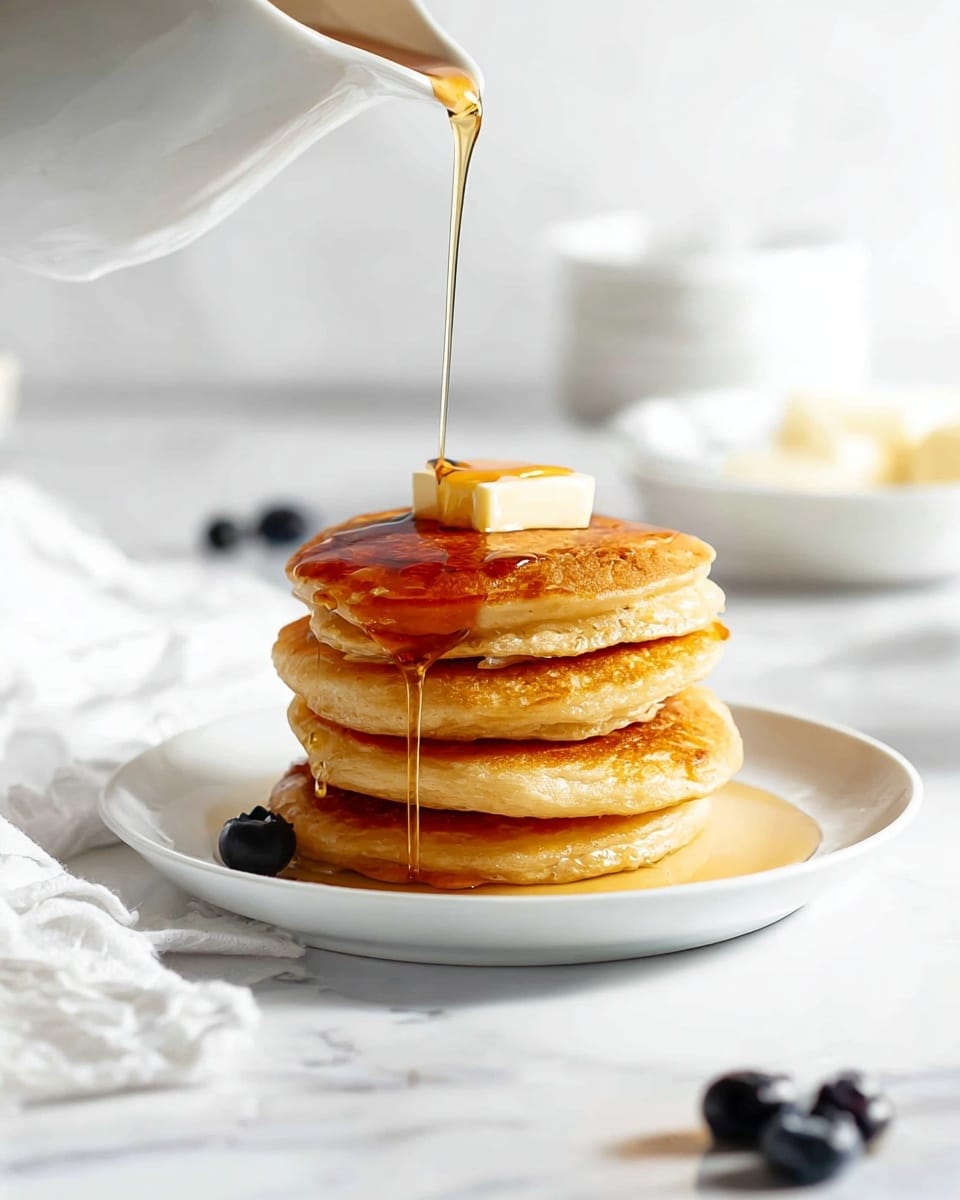
- Step 8: Serve warm as is or with your favorite toppings such as syrup, fruit, or whipped cream.
Tips & Variations
- Use a mini ice cream scoop to make uniform, perfectly round pancakes.
- Substitute nut milk like almond or oat milk to make the recipe dairy-free.
- For extra flavor, add a pinch of cinnamon or a teaspoon of lemon zest to the batter.
- If crispy edges are your goal, don’t skip moving the butter around the pancake edges in the pan.
- Keep the heat moderate to ensure pancakes cook evenly without burning.
Storage
Store leftover pancakes in an airtight container in the refrigerator for up to 3 days. To reheat, warm them in a skillet over low heat or in a toaster oven until heated through. Avoid microwaving to keep the edges from becoming soggy.
How to Serve
Serve this delicious recipe with your favorite sides.
FAQs
Can I make the batter ahead of time?
Yes, you can prepare the batter in advance and keep it covered in the refrigerator for up to 24 hours. Give it a gentle stir before cooking, but be careful not to over-mix.
What if I don’t have unsalted butter?
You can use salted butter if that’s what you have on hand; just reduce or omit added salt in the recipe to balance the flavors.
PrintMini Silver Dollar Pancakes Recipe

These Mini Silver Dollar Pancakes are fluffy, perfectly sized bite-friendly pancakes with crispy edges and a tender interior. Made with simple pantry ingredients and cooked on the stovetop with butter for a rich, golden finish, they’re ideal for breakfast, brunch, or anytime you want a delicious, easy-to-make treat.
- Prep Time: 10 minutes
- Cook Time: 15 minutes
- Total Time: 25 minutes
- Yield: About 30 mini pancakes 1x
- Category: Breakfast
- Method: Stovetop
- Cuisine: American
- Diet: Vegetarian
Ingredients
Dry Ingredients
- 1 cup all-purpose flour
- ¼ cup granulated sugar
- 1½ tsp baking powder
- ¼ tsp salt
Wet Ingredients
- ¾ cup milk (or substitute with nut milk)
- 1 tsp vanilla extract
- 6 tbsp unsalted butter (divided; some melted, some for skillet)
Instructions
- Combine dry ingredients: In a large bowl, whisk together the flour, sugar, baking powder, and salt until evenly mixed.
- Add wet ingredients and mix: Pour in ¾ cup milk, 2 tablespoons of melted butter, and 1 teaspoon vanilla extract. Whisk gently until just combined; lumps are okay. Avoid over-mixing to keep pancakes tender. If the batter is too thin, the pancakes will be thin and hard to flip; if too thick, add milk by tablespoons to adjust consistency.
- Heat skillet and add butter: Place a skillet over medium-low heat and add 1 to 2 tablespoons of butter. Allow the butter to melt and coat the pan evenly before adding batter.
- Cook pancakes in batches: Use a mini ice cream scoop or tablespoon to pour about 1 tablespoon of batter per pancake, leaving space between each. For crispy edges, use the pan handle to swirl butter around the edges of each pancake.
- Flip pancakes when bubbles appear: Once tiny bubbles form on the surface or edges start to brown, use a flat metal spatula to flip each pancake quickly. Cooking time varies with heat, so start low and adjust as needed.
- Add more butter after flipping: Add 1 tablespoon of butter to the skillet after flipping to keep the pan moist and help pancakes glide easily when shaking the pan. If pancakes stick, add more butter.
- Finish cooking and check doneness: Cook the flipped pancakes for another 1 to 2 minutes, ensuring the inside is cooked but not overdone to avoid dryness.
- Serve: Remove pancakes from the skillet and enjoy as-is or with your favorite toppings like syrup, fresh fruit, or whipped cream.
Notes
- Use a flat metal spatula for easy flipping and to prevent breaking the mini pancakes.
- Do not over-mix the batter to maintain fluffiness and avoid tough pancakes.
- Adjust milk quantity to get the right batter consistency for perfect pancakes.
- Butter the skillet generously to achieve crispy edges and prevent sticking.
- The heat should be kept at medium-low to allow pancakes to cook slowly and evenly.
- Using a mini ice cream scoop helps create consistently sized pancakes.
Keywords: mini pancakes, silver dollar pancakes, breakfast recipe, easy pancakes, fluffy pancakes, stovetop pancakes