
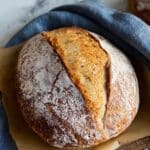
Rustic Sourdough Bread Recipe
Introduction
Rustic sourdough bread is a wonderfully simple loaf that combines a crisp crust with a tender, flavorful crumb. Using whole wheat flour and a natural starter, this recipe embraces traditional techniques to create a loaf full of character and depth.
Ingredients
- 100 g sourdough starter (fed and bubbly)
- 250 g bread flour
- 250 g whole wheat flour (or whole grain spelt flour)
- 315 g water (add a sprinkle if the dough feels too dry)
- 10 g salt
Instructions
- Step 1: In a large ceramic or glass bowl, combine the sourdough starter and water. Mix briefly to incorporate.
- Step 2: Add the bread flour, whole wheat flour, and salt to the bowl. Stir using the end of a wooden spoon until the dough comes together in a shaggy mass.
- Step 3: Cover the bowl with plastic wrap or a damp towel and let the dough rest for about 1 hour. This autolyse hydrates the flour, especially important for whole wheat.
- Step 4: After autolyse, bring the dough together into a smooth ball by stretching it from the outside and folding it over itself 20-25 times. Cover again.
- Step 5 (optional): Perform 4-6 sets of stretch and folds over 2 hours. For each set, stretch the dough over itself 4 times, resting about 15 minutes between sets. This helps develop gluten but can be skipped for a true no-knead loaf.
- Step 6: Cover and let the dough ferment (bulk ferment) until it shows signs of expansion and air bubbles.
- Step 7: Lightly dust a countertop with rice flour and gently tip the dough upside down onto it, so the smooth side is down and the sticky underside faces up.
- Step 8: Shape the dough into a batard or ball by gently folding and stretching to create surface tension.
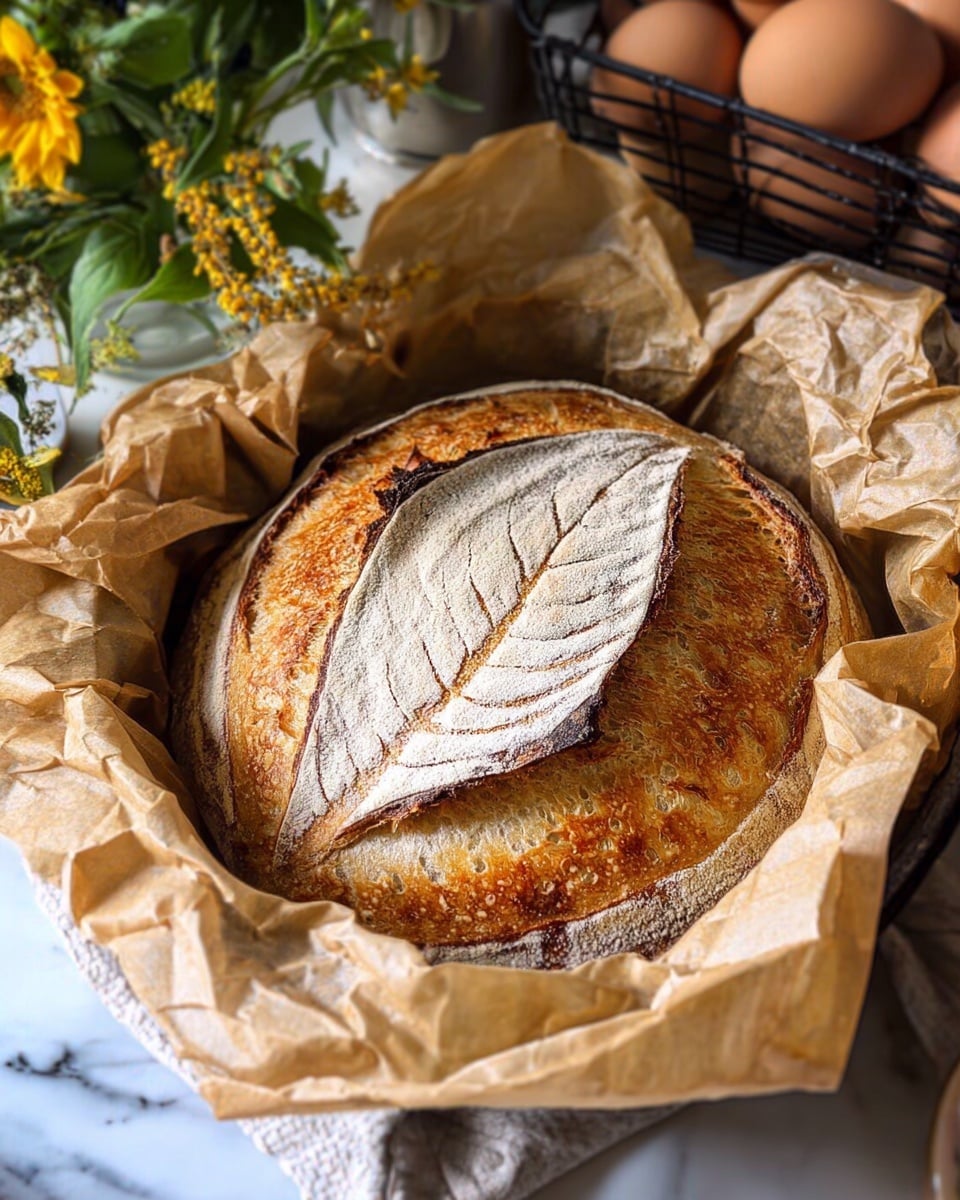
- Step 9: Place the shaped dough seam-side up into a well-floured banneton or a bowl lined with a floured tea towel. Dust the dough with extra rice flour if desired for a rustic appearance.
- Step 10: Cover loosely with a plastic bag or damp towel and refrigerate for 5 to 36 hours. Longer cold fermentation improves flavor, crust texture, and scoring ease.
- Step 11: Preheat your oven to 230°C (450°F) with a Dutch oven inside for at least 1 hour to ensure it’s very hot.
- Step 12: Remove the dough from the fridge and keep it cold until just before baking to encourage good oven spring.
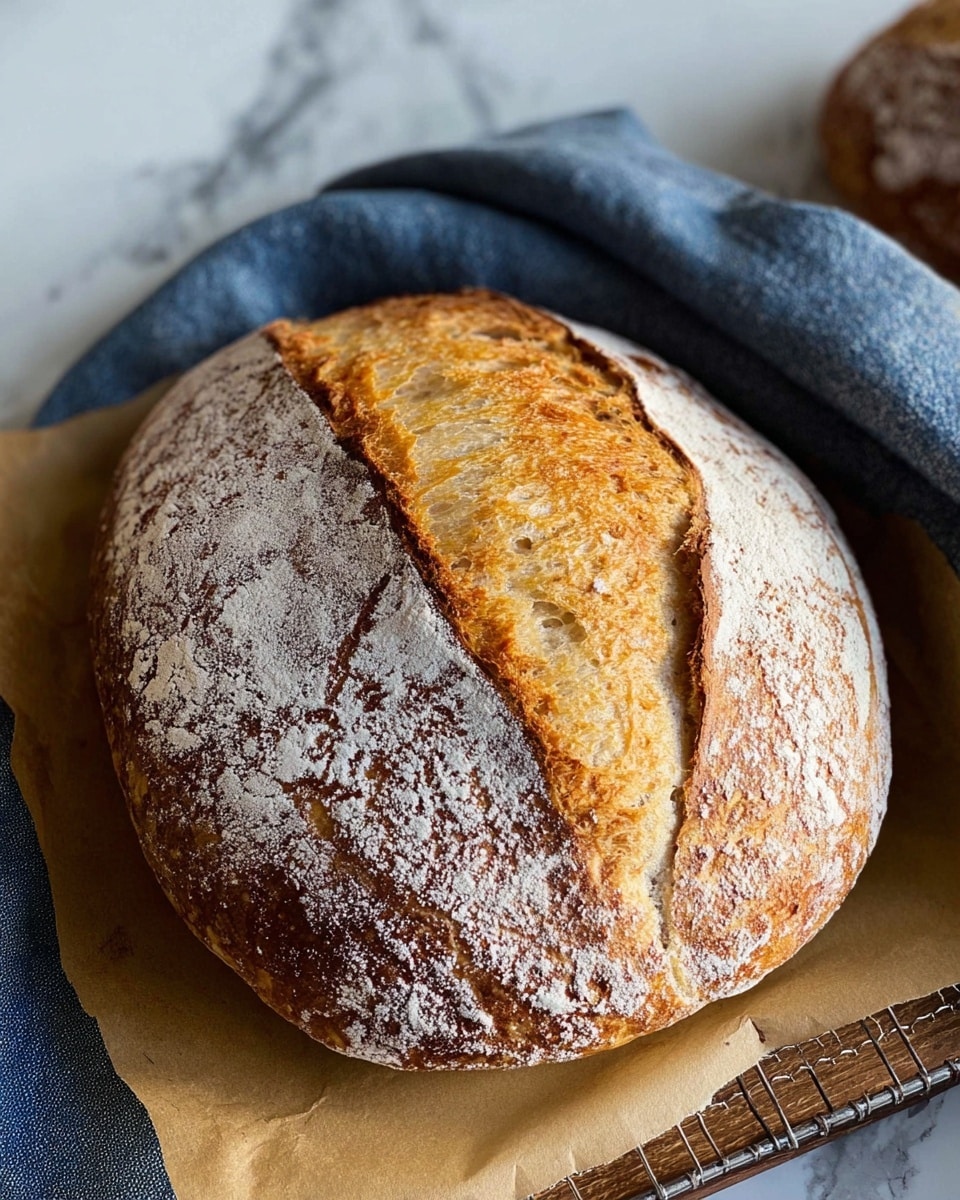
- Step 13: Transfer the dough onto a piece of baking paper. Score the top with a razor blade or sharp knife to allow controlled expansion.
- Step 14: Carefully remove the Dutch oven from the oven, place the dough inside using the paper as a sling, and cover with the lid. Optionally spritz the dough with water before covering.
- Step 15: Bake for 30 minutes with the lid on at 230°C (450°F), then remove the lid and bake for an additional 10-15 minutes at 210°C (410°F) until the crust is deep golden brown.
- Step 16: Remove the bread from the Dutch oven and cool on a wire rack before slicing.
Tips & Variations
- Use rice flour for dusting as it doesn’t contain gluten and helps prevent sticking without toughening the crust.
- If you don’t have a banneton, line a bowl or basket with a heavily floured tea towel to shape and proof your dough.
- For a milder flavor, substitute some or all of the whole wheat flour with bread flour or all-purpose flour.
- Try adding rosemary or olives during the initial mixing for a savory variation.
Storage
Store the bread at room temperature wrapped loosely in a clean kitchen towel for up to 3 days. For longer storage, slice and freeze in an airtight bag. Reheat slices in a toaster or oven for a fresh-baked taste.
How to Serve
Serve this delicious recipe with your favorite sides.
FAQs
Can I use all bread flour instead of whole wheat?
Yes, you can substitute all the whole wheat flour with bread flour for a milder flavor and lighter crumb, but whole wheat adds nuttiness and depth to the loaf.
Do I have to do the stretch and folds?
Stretch and folds improve gluten development and dough strength, but they are optional. Even without them, the bread will still turn out rustic and delicious, though with a slightly different texture.
PrintRustic Sourdough Bread Recipe
This Rustic Sourdough recipe guides you through making a traditional, no-knead loaf with a crisp crust and chewy interior, leveraging a long ferment and cold proof for rich flavor development. Using both bread flour and whole wheat flour, the dough undergoes an autolyse, optional stretch and folds, and a cold ferment before baking inside a hot Dutch oven to achieve the perfect artisan-style loaf.
- Prep Time: 1 hour 30 minutes
- Cook Time: 45 minutes
- Total Time: approximately 8 to 38 hours (including fermentation and cold proofing times)
- Yield: 1 loaf (about 900g to 1kg) 1x
- Category: Bread
- Method: Baking
- Cuisine: Artisan / Sourdough
- Diet: Vegetarian
Ingredients
Starter and Dough Ingredients
- 100 g Sourdough Starter (fed and bubbly)
- 250 g Bread Flour
- 250 g Whole Wheat Flour (or whole grain spelt flour)
- 315 g Water (plus a sprinkle if dough feels too dry)
- 10 g Salt
Instructions
- Autolyse: Weigh your sourdough starter and water into a large ceramic or glass bowl and mix briefly. Add the bread flour, whole wheat flour, and salt, then mix with the end of a wooden spoon until the dough is shaggy but combined. Cover the bowl with plastic wrap or a damp towel and let rest for 1 hour to fully hydrate the flour.
- Forming Up Your Dough: After autolyse, bring the dough together into a smooth ball by stretching it around the bowl and folding it over itself 20-25 times. The dough will be sticky but becomes smooth and shiny as you work it. Cover again with plastic wrap.
- Stretch & Folds (Optional): For better structure and gluten development, perform 4-6 sets of stretch and folds, each consisting of stretching the dough over itself 4 times with 15 minutes rest between each set. This step is optional for a rustic bread.
- Bulk Ferment: Cover the dough with cling film or a damp towel and let it ferment at room temperature. This long fermentation develops flavor and texture (approximately 2-4 hours depending on room temperature).
- Shaping Your Dough: Flour your countertop lightly with rice flour to prevent sticking. Gently ease the dough out of the bowl using a silicone scraper so the smooth top lands on the counter. Shape the dough into your preferred form, such as a batard, to create surface tension.
- Placing in Banneton: Transfer the shaped dough into a banneton or a bowl lined with a floured tea towel, placing the seam side up to achieve aesthetic lines when baked. Dust with extra rice flour as needed, handling the dough gently to preserve air bubbles.
- Preparing the Banneton or Bowl: Liberally flour your banneton or tea towel-lined bowl with rice flour to prevent sticking. The dough should retain its shape snugly in the container.
- Cold Ferment: Cover the dough loosely with a plastic bag or damp towel and refrigerate for at least 5 hours, up to 36 hours. The longer cold ferment enhances the crust’s blisters and deepens sourdough flavor, also forming a skin that aids scoring.
- Preparing to Bake: Preheat your oven to 230°C (450°F) with a Dutch oven inside for about 1 hour to ensure it’s very hot. Keep the dough in the fridge until the last minute to ensure an excellent oven spring.
- Baking Your Sourdough: Remove the dough from the fridge and place it on a large sheet of baking paper. Score the top with a sharp blade or knife. Remove the hot Dutch oven from the oven carefully, lift the dough using the baking paper, and place it inside. Cover with the lid and bake for 30 minutes at 230°C (450°F), then remove the lid and bake for an additional 10-15 minutes at 210°C (410°F) to develop a deep crust.
- Finishing Your Bake: Carefully remove the sourdough from the Dutch oven and transfer to a wire rack to cool completely before slicing to allow the crumb to set.
Notes
- Rice flour is ideal for dusting as it prevents sticking without adding gluten.
- The optional stretch and fold steps enhance dough strength but can be skipped for a rustic, no-knead style loaf.
- Cold fermenting in the refrigerator for longer than 24 hours improves flavor and crust texture.
- Using a Dutch oven traps steam, mimicking professional bakery ovens and yielding a better crust.
- Ensure your sourdough starter is active and bubbly before starting for best rise.
Keywords: rustic sourdough bread, sourdough recipe, no knead bread, artisan bread, bread baking, homemade sourdough