
Sourdough Pizza Crust Recipe
Introduction
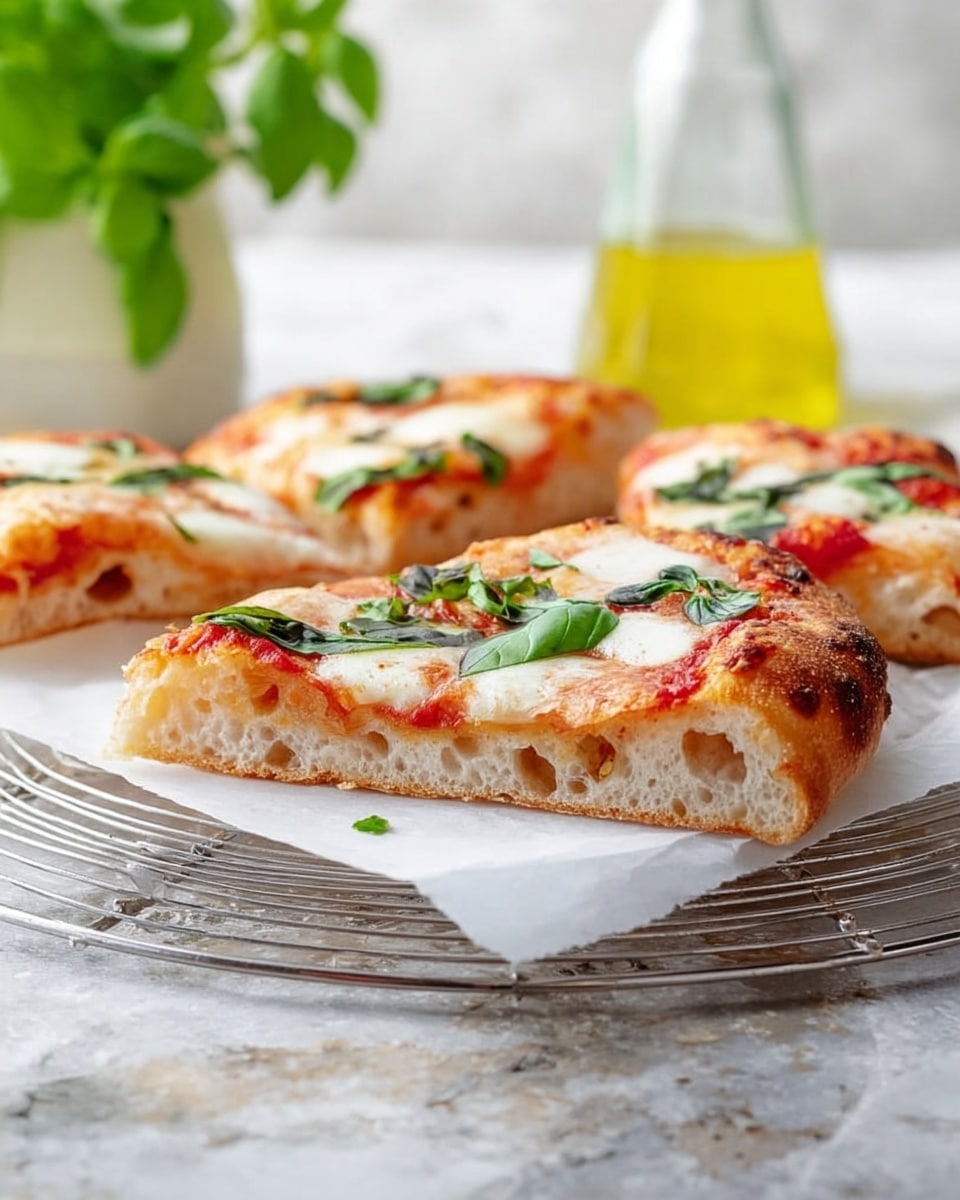
Sourdough pizza crust offers a flavorful, slightly tangy base that elevates your homemade pizzas. Using a ripe sourdough starter, this recipe yields a chewy, crisp crust perfect for all your favorite toppings.

Ingredients
- 75 grams ripe sourdough starter
- 160 grams lukewarm water
- 270 grams Italian style “00” flour
- 30 grams whole wheat flour (or substitute all-purpose flour)
- 1 tablespoon pizza dough flavor
- 8 grams extra virgin olive oil
- 6 grams kosher salt
Instructions
- Step 1: In a stand mixer fitted with a dough hook, combine all dough ingredients. Knead until the dough forms a cohesive ball that pulls away from the bowl sides, about 5-10 minutes. The dough should be smooth but still a bit wet and tacky. If it doesn’t come together, add 1 tablespoon of flour at a time until it does.
- Step 2: Cover the bowl and let the dough bulk ferment at room temperature for 3 hours. Perform 3 sets of stretches and folds every 30 minutes, then let the dough rest for the remaining time.
- Step 3: Divide the dough in half after fermenting. Shape each half into a tight ball and place in lightly oiled proofing containers. Cover tightly with plastic wrap and refrigerate overnight or until doubled and puffy, about 12-18 hours.
- Step 4: Remove dough from the fridge 30 minutes before shaping to bring it to room temperature. Preheat your pizza oven or conventional oven as needed.
- Step 5: Dust your work surface generously with semolina flour. Place a dough ball on it and gently press outwards from the center to form a circle about 10 inches across. The dough will relax as you stretch; pick it up by the edge and use gravity to further stretch if needed.
- Step 6: Sprinkle your pizza peel with semolina flour and transfer the stretched dough onto it. Spread a thin layer of sauce and add cheese and toppings sparingly to avoid weighing down the crust.
- Step 7: Give the pizza a gentle shake on the peel to ensure it doesn’t stick, then immediately transfer it to the oven.
- Step 8: For an outdoor pizza oven, preheat to 900°F for 20-30 minutes. Launch the pizza carefully into the oven, then reduce heat to about 500°F. Rotate the pizza every 30 seconds for even cooking, about 2 minutes total.
- Step 9: For a conventional oven, preheat a pizza stone or baking steel to 500°F for 30 minutes. Bake the pizza for 5-7 minutes, then broil on high for 2-4 minutes until crust is golden and cheese bubbly.
- Step 10: Once cooked, let the pizza cool for a minute or two before slicing. Top with fresh herbs or pesto if desired. Repeat the process with remaining dough.
Tips & Variations
- If you don’t have whole wheat flour, all-purpose flour works fine as a substitute.
- Use semolina flour for dusting to prevent sticking and add a nice texture to the crust bottom.
- For easier shaping, allow the dough to rest at room temperature before stretching, which helps relax the gluten.
- Try different toppings but use them sparingly to keep the crust from becoming soggy or weighed down.
Storage
Store shaped dough balls in airtight containers in the refrigerator for up to 48 hours for best results. Dough can last up to 5 days but may lose some rise and flavor. To use, bring dough to room temperature for 30 minutes before shaping. Leftover baked pizza can be reheated in a hot skillet or oven to maintain crispness.
How to Serve
Serve this delicious recipe with your favorite sides.
FAQs
Can I use all-purpose flour instead of “00” flour?
Yes, all-purpose flour can be used in place of “00” flour. The texture may be slightly different, but the dough will still turn out great.
How do I perform stretches and folds during fermentation?
To stretch and fold, wet your hand, gently stretch one side of the dough upward, then fold it over the rest of the dough. Rotate the bowl and repeat 3-4 times per session. This helps develop gluten and strengthens the dough during bulk fermentation.
PrintSourdough Pizza Crust Recipe

This Sourdough Pizza Crust recipe yields a flavorful, crispy, and chewy homemade pizza base crafted with a blend of Italian ’00’ flour, whole wheat flour, and a ripe sourdough starter. Using natural fermentation and a slow, cold proofing process develops complex taste and an airy crust, perfect for baking in an outdoor pizza oven or a conventional home oven.
- Prep Time: 15 minutes
- Cook Time: 2-7 minutes (depending on oven)
- Total Time: 15 minutes prep + 3 hours bulk fermentation + 12-18 hours cold proof + cooking time
- Yield: 2 pizzas (10-inch each) 1x
- Category: Pizza Dough
- Method: Baking
- Cuisine: Italian
Ingredients
Pizza Dough
- 75 grams ripe sourdough starter
- 160 grams lukewarm water
- 270 grams Italian style ’00’ flour
- 30 grams whole wheat flour (can substitute with all-purpose flour)
- 1 tablespoon pizza dough flavor (a flavor enhancer blend or optional seasoning blend)
- 8 grams extra virgin olive oil
- 6 grams kosher salt
Instructions
- Make Pizza Dough: In a stand mixer fitted with a dough hook, combine the sourdough starter, lukewarm water, ’00’ flour, whole wheat flour, pizza dough flavor, olive oil, and kosher salt. Knead on medium speed for 5 to 10 minutes until the mixture forms a cohesive ball that pulls away from the sides of the bowl. The dough should be slightly wet and tacky but manageable. If it does not come together, add flour one tablespoon at a time until cohesive.
- Bulk Fermentation: Cover the bowl and leave the dough to bulk ferment at room temperature for 3 hours. During this time, perform three sets of stretch and folds every 30 minutes to help develop gluten structure. Allow the dough to rest undisturbed after the last set until the full 3 hours elapse.
- Divide and Cold Proof: After bulk fermentation, divide the dough into two equal halves. Shape each half into a tight ball and place them into lightly oiled proofing containers. Cover tightly with plastic wrap and refrigerate overnight, or for at least 12 to 18 hours, until the dough doubles in size and becomes puffy. Dough can be kept refrigerated up to 5 days but best used within 48 hours.
- Prepare for Baking: Remove dough balls from the refrigerator about 30 minutes before baking to allow them to come to room temperature. Preheat your pizza oven or conventional oven for at least 30 minutes. Dust your work surface and pizza peel generously with semolina flour to prevent sticking.
- Shape the Dough: Place one dough ball onto the floured surface. Gently press and stretch from the center outwards into a roughly 10-inch circle. The dough will initially resist but will relax as you continue. Lift the dough by the edges and use gravity to help stretch it thinner while rotating to maintain an even shape. Transfer the stretched dough onto the semolina-dusted pizza peel.
- Add Toppings: Lightly spread a thin layer of your favorite pizza sauce over the dough. Add cheese and desired toppings sparingly to avoid weighing down the crust and to ensure even cooking.
- Transfer and Bake (Outdoor Pizza Oven): Preheat your outdoor pizza oven (e.g., Ooni Koda 12) to 900°F for about 20-30 minutes. Check that the pizza does not stick to the peel and carefully slide it into the oven with a quick thrust. Immediately reduce the oven temperature to about 500°F. Rotate the pizza every 30 seconds to cook evenly. The pizza should bake in approximately 2 minutes until the crust is browned, and cheese is bubbly.
- Transfer and Bake (Conventional Oven): If using a home oven, preheat the oven and pizza stone or baking steel to 500°F for at least 30 minutes. Slide the pizza onto the heated stone and bake for 5-7 minutes. Then switch the oven to broil on high for 2-4 minutes till the crust is golden and cheese bubbly.
- Finish and Serve: Remove the cooked pizza using the peel, let cool slightly on a cutting board for a minute or two, then optionally top with fresh herbs or pesto before slicing and serving. Repeat the process for the second pizza.
Notes
- The dough is best used within 48 hours of shaping but can last up to 5 days refrigerated with good results.
- Stretch and folds during bulk fermentation are essential for developing gluten and dough strength.
- Dusting with semolina flour prevents sticking during shaping and transfer.
- For outdoor pizza ovens, adjusting temperature after launching the pizza prevents burning while allowing good puff and rise.
- Use less toppings to ensure the crust cooks evenly and remains crispy.
- If struggling with hand stretching, lifting dough edges and allowing gravity to help is recommended.
- A pizza stone or baking steel is highly recommended when baking in a conventional oven to achieve a crispy crust.
- Adjust baking times based on your specific oven performance and pizza size.
Keywords: sourdough pizza crust, homemade pizza dough, Italian pizza, pizza dough recipe, sourdough starter pizza, crispy pizza crust