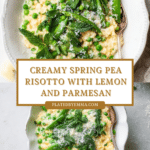
Spring Pea Risotto Recipe
Introduction
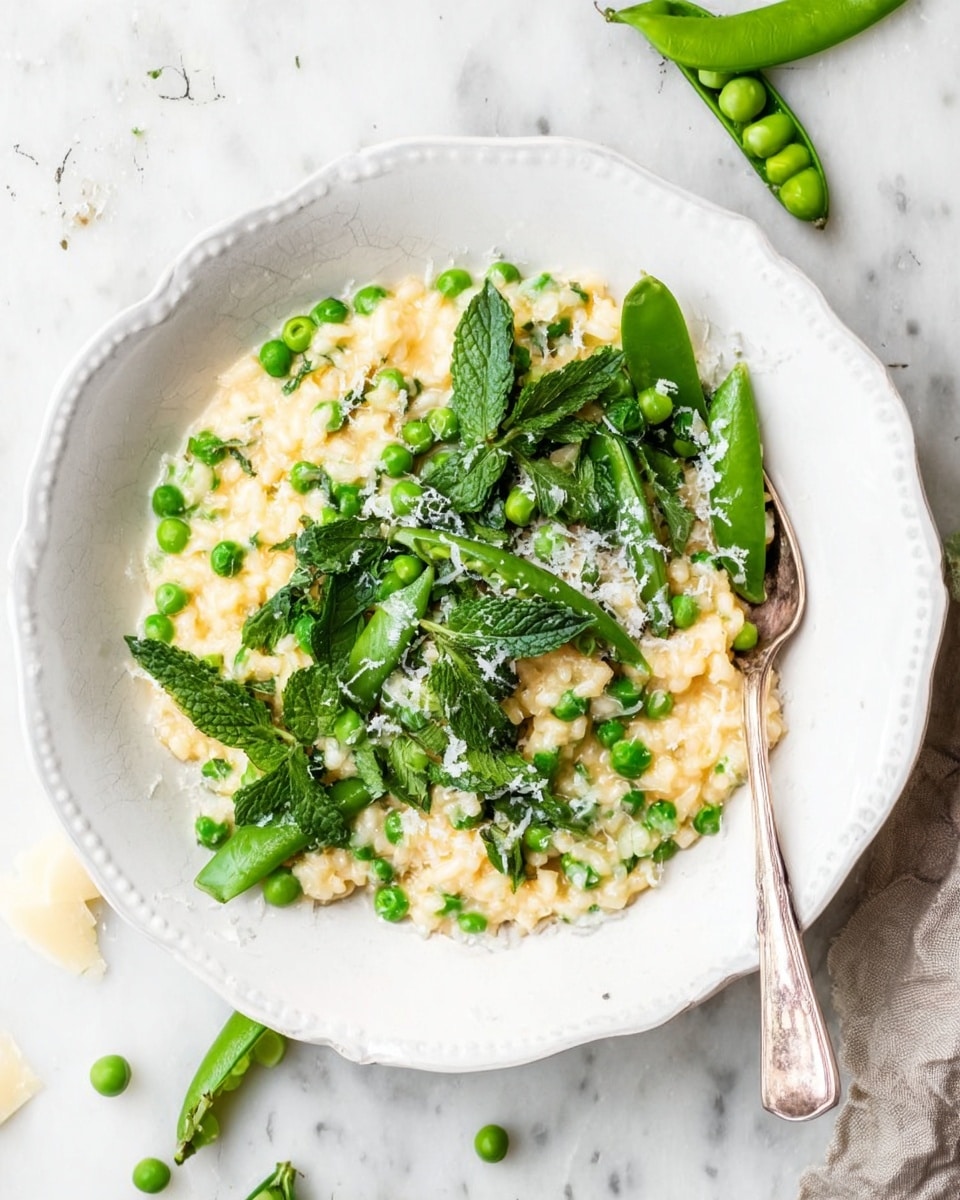
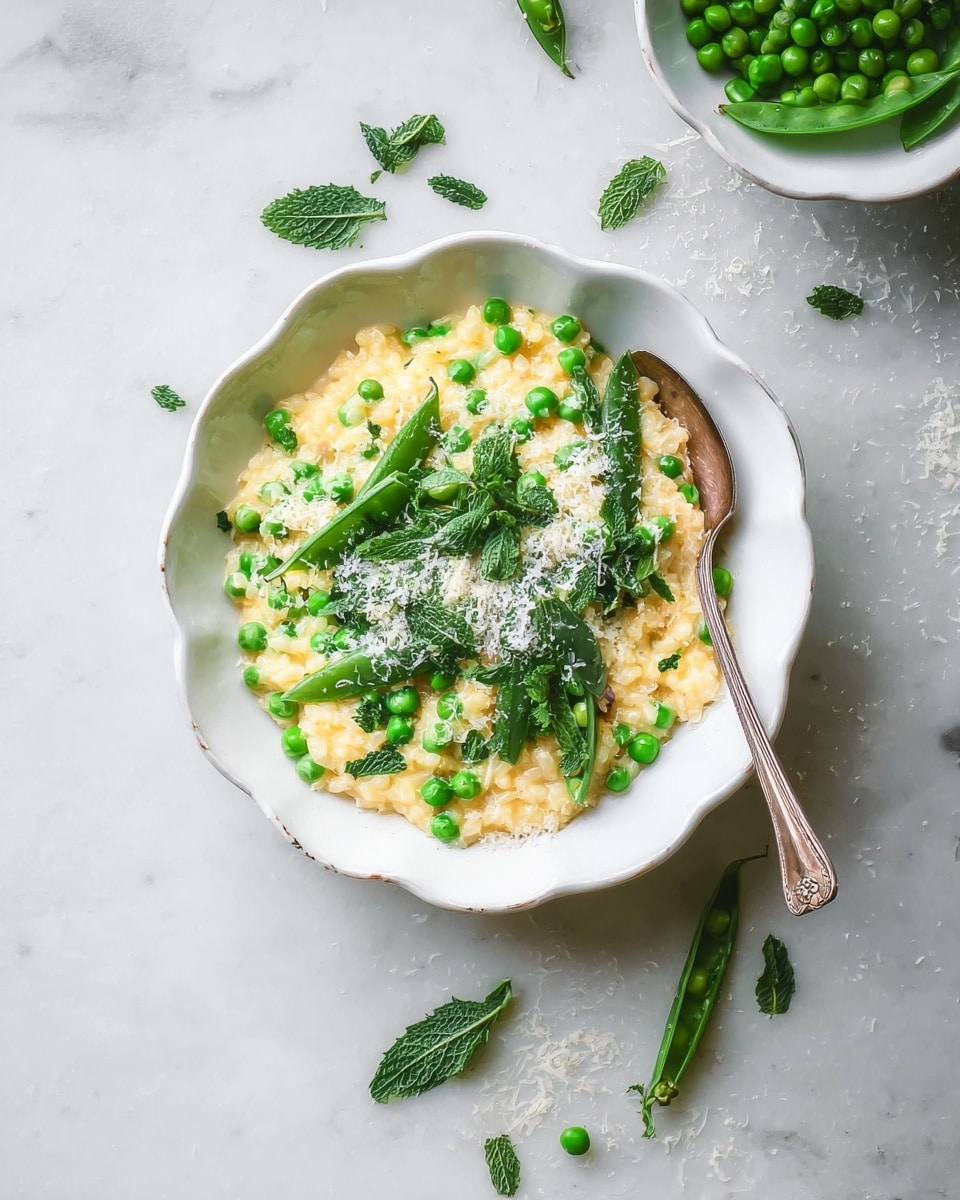
Spring Pea Risotto is a vibrant and creamy dish that celebrates fresh seasonal peas. This comforting recipe combines tender arborio rice with bright lemon, fresh herbs, and Parmesan for a delightful meal perfect for springtime.
Ingredients
- 1 1/2 cups fresh peas
- 2 tablespoons unsalted butter
- 1 large shallot, diced
- 2 cloves garlic, minced
- 1 cup arborio rice
- 1/2 cup white cooking wine
- 1 teaspoon fresh thyme
- 4 cups vegetable stock (substitute chicken stock or water)
- 1/2 cup Parmesan cheese, shredded
- 1 tablespoon lemon zest
- 2 teaspoons lemon juice
- 1 tablespoon fresh mint (substitute other fresh herbs like basil)
- Salt and pepper, to taste
Instructions
- Step 1: Bring a large pot of salted water to a rolling boil. Prepare a large bowl filled with ice water and set aside.
- Step 2: Drop the peas into the boiling water and blanch for 1-2 minutes until crisp and bright green.
- Step 3: Immediately transfer the peas to the ice bath for about 20 seconds to stop cooking. Drain and set aside. Avoid leaving peas in water longer to prevent sogginess.
- Step 4: Heat the vegetable stock in a medium pot over medium heat until simmering, then remove from heat and keep warm.
- Step 5: In a large skillet or stockpot, melt butter over medium heat. Sauté diced shallots and minced garlic for about 5 minutes until soft and fragrant.
- Step 6: Add arborio rice to the pan and toast for 2 minutes, stirring frequently. Pour in the white wine, scraping any browned bits from the bottom to deglaze.
- Step 7: Add ½ cup of warm vegetable stock and fresh thyme to the rice. Stir until the liquid is fully absorbed. Repeat by adding stock ½ cup at a time, stirring until absorbed each time, until rice is tender and cooked through.
- Step 8: Stir in Parmesan cheese, blanched peas, and lemon juice. Taste and season with salt and pepper as needed.
- Step 9: Garnish with fresh herbs and lemon zest. Optionally, add extra fresh peas and microgreens before serving. Enjoy!
Tips & Variations
- Use fresh peas for the best flavor, but frozen peas can be a convenient substitute—just blanch them as directed to keep their color and texture.
- Try swapping fresh mint for basil or tarragon to change the herb profile.
- For a richer risotto, finish with a splash of cream or an extra pat of butter.
- Stir in a handful of toasted pine nuts or almonds for added texture and nuttiness.
Storage
Store leftover risotto in an airtight container in the refrigerator for up to 2 days. To reheat, add a splash of stock or water and warm gently in a saucepan, stirring until creamy. Risotto is best enjoyed fresh but can also be repurposed into arancini (fried rice balls) for a tasty treat.
How to Serve
Serve this delicious recipe with your favorite sides.
FAQs
Can I make this risotto vegan?
Yes, substitute the butter with olive oil and use a vegan Parmesan alternative or nutritional yeast for a similar cheesy flavor.
Is it necessary to continuously stir the risotto?
Stirring helps release the starch from the rice, creating a creamy texture. While you don’t need to stir constantly, frequent stirring during cooking is recommended for the best results.
PrintSpring Pea Risotto Recipe

This Spring Pea Risotto is a vibrant and creamy Italian dish featuring fresh blanched peas, aromatic shallots, garlic, and fragrant fresh herbs. Made with arborio rice slowly cooked in vegetable stock and white wine, it’s finished with parmesan cheese, lemon zest, and a hint of fresh mint for a bright, fresh flavor perfect for springtime meals.
- Prep Time: 15 minutes
- Cook Time: 25 minutes
- Total Time: 40 minutes
- Yield: 4 servings 1x
- Category: Main Course
- Method: Stovetop
- Cuisine: Italian
- Diet: Vegetarian
Ingredients
Vegetables & Aromatics
- 1 1/2 cups fresh peas
- 1 large shallot, diced
- 2 cloves garlic, minced
- 1 tablespoon fresh mint (or substitute fresh basil)
- 1 teaspoon fresh thyme
- 1 tablespoon lemon zest
- 2 teaspoons lemon juice
- Salt and pepper to taste
Liquids & Fats
- 2 tablespoons unsalted butter
- 1/2 cup white cooking wine
- 4 cups vegetable stock (or substitute chicken stock or water)
Grains & Dairy
- 1 cup arborio rice
- 1/2 cup parmesan cheese, shredded
Instructions
- Blanch the peas: Bring a large pot of salted water to a rolling boil. Prepare a large bowl of ice water. Drop the peas into the boiling water and blanch for 1-2 minutes to keep them crisp and vibrant green. Immediately transfer peas to the ice bath for about 20 seconds, then drain and set aside. Avoid leaving peas in water to prevent sogginess.
- Warm the stock: Heat the vegetable stock in a medium pot over medium heat until it simmers. Alternatively, use a microwave to warm it. Remove from heat and keep warm on the stove or nearby.
- Sauté shallots and garlic: In a large skillet or stockpot, melt the butter over medium heat. Add the diced shallots and minced garlic and sauté for about 5 minutes until softened and fragrant, being careful not to brown them.
- Toast the rice: Add the arborio rice to the skillet and stir constantly for about 2 minutes. This toasting step helps enhance the nutty flavor and prepares the rice for absorbing liquids.
- Deglaze with wine: Pour in the white cooking wine to deglaze the pan, scraping up any browned bits stuck to the bottom. Stir until the wine is mostly absorbed by the rice.
- Cook the risotto: Add ½ cup of the warm vegetable stock and the fresh thyme to the rice. Stir frequently until the liquid is fully absorbed. Repeat this process—adding stock ½ cup at a time and stirring until absorbed—until the rice is creamy and cooked through, about 18-20 minutes.
- Finish the risotto: Stir in the shredded parmesan cheese, blanched peas, and lemon juice. Taste and season with salt and pepper as needed. Mix gently to combine all flavors evenly.
- Garnish and serve: Sprinkle the finished risotto with fresh herbs like mint or basil and lemon zest. Optionally garnish with extra fresh peas and microgreens for added color and texture. Serve immediately and enjoy the fresh spring flavors.
Notes
- To achieve the perfect creamy risotto texture, stir frequently and add stock gradually.
- Blanching peas helps maintain their bright color and crispness, preventing mushiness.
- Use warm stock to keep the cooking process steady without cooling the rice.
- Feel free to substitute chicken stock for vegetable stock if not vegan.
- Fresh herbs such as basil or mint can be used interchangeably depending on your flavor preference.
- Serve risotto immediately as it can thicken upon standing.
Keywords: Spring Pea Risotto, Arborio Rice, Italian Risotto, Fresh Peas, Vegetarian Dinner, Creamy Risotto